Project Setup
We’ve already prepared the training script that trains a model on the Iris dataset, and you can find the code in our GitHub Repository. Clone the GitHub repository with the following command:Project Structure
The project files are organised as follows:Prerequisites
Before you proceed with the guide, make sure you have the following:- TrueFoundry CLI: Set up and configure the TrueFoundry CLI tool on your local machine by following the Setup for CLI guide.
- Workspace: To deploy your job, you’ll need a workspace. If you don’t have one, you can create it using this guide: Creating a Workspace or seek assistance from your cluster administrator.
Deploying the Job
Create adeploy.py file in the same directory as your Job code (app.py). This file will contain the necessary configuration for your Job.
Your directory structure will then appear as follows:
File Structure
deploy.py
Deploy Training Code as a Job
Deploy Training Code as a Job
1
Setup the project
First, you need to import the following modules:
argparsefrom Python’s standard library.loggingfrom Python’s standard library.- Import the necessary classes (
Build,PythonBuild,Service,Resources, andPort) fromservicefoundry.
servicefoundry logs by configuring the log level to INFO.2
Setup Job
Now, it’s time to define the properties of the
Job:- Specify the
nameof the job, which will be its identifier in TrueFoundry’s deployments dashboard. - Define the
imagewith instructions on how to build the container image. - Configure the
resourcesfor the application.
3
Define Code to Docker Image Build Instructions
For defining how to build your code into a Docker image, use the
Build class:- Specify the
build_sourceto determine the source code location. If not provided, the current working directory is used. - Define the
build_specusing thePythonBuildclass to set up a Python environment.
4
Configure the Python Build
In the
PythonBuild class, provide the following arguments:command: The command to start your service.requirements_path: The path to your dependencies file.
5
Specify resource constraints.
For all deployments, specify resource constraints such as CPU and memory using the
Resources class. This ensures proper deployment on the cluster.cpu_request: Specifies the minimum CPU reserved for the application (0.5 represents 50% of CPU resources).cpu_limit: Defines the upper limit on CPU usage, beyond which the application is throttled.memory_request: Specifies the minimum required memory (e.g., 1 means 1 MB).memory_limit: Sets the maximum memory allowed; exceeding this limit triggers an Out of Memory (OOM) error.
6
Specifying environment variables
You can also provide environment variables using a dictionary of the format
{"env_var_name": "env_var_value". This is helpful for configurations like environment type (dev/prod) or model registry links.7
Deploy the job
Use
job.deploy() to initiate the deployment. Provide the workspace_fqn (fully qualified workspace name) to specify where the service should be deployed.train.py and requirements.txt files.
Run the above command from the same directory containing the
train.py and requirements.txt files.Exclude files when building and deploying your source code:
To exclude specific files from being built and deployed, create a .tfyignore file in the directory containing your deployment script (deploy.py). The .tfyignore file follows the same rules as the .gitignore file.If your repository already has a .gitignore file, you don’t need to create a .tfyignore file. Service Foundry will automatically detect the files to ignore.Place the .tfyignore file in the project’s root directory, alongside deploy.py.DEPLOY_SUCCESS:, indicating a successful deployment.
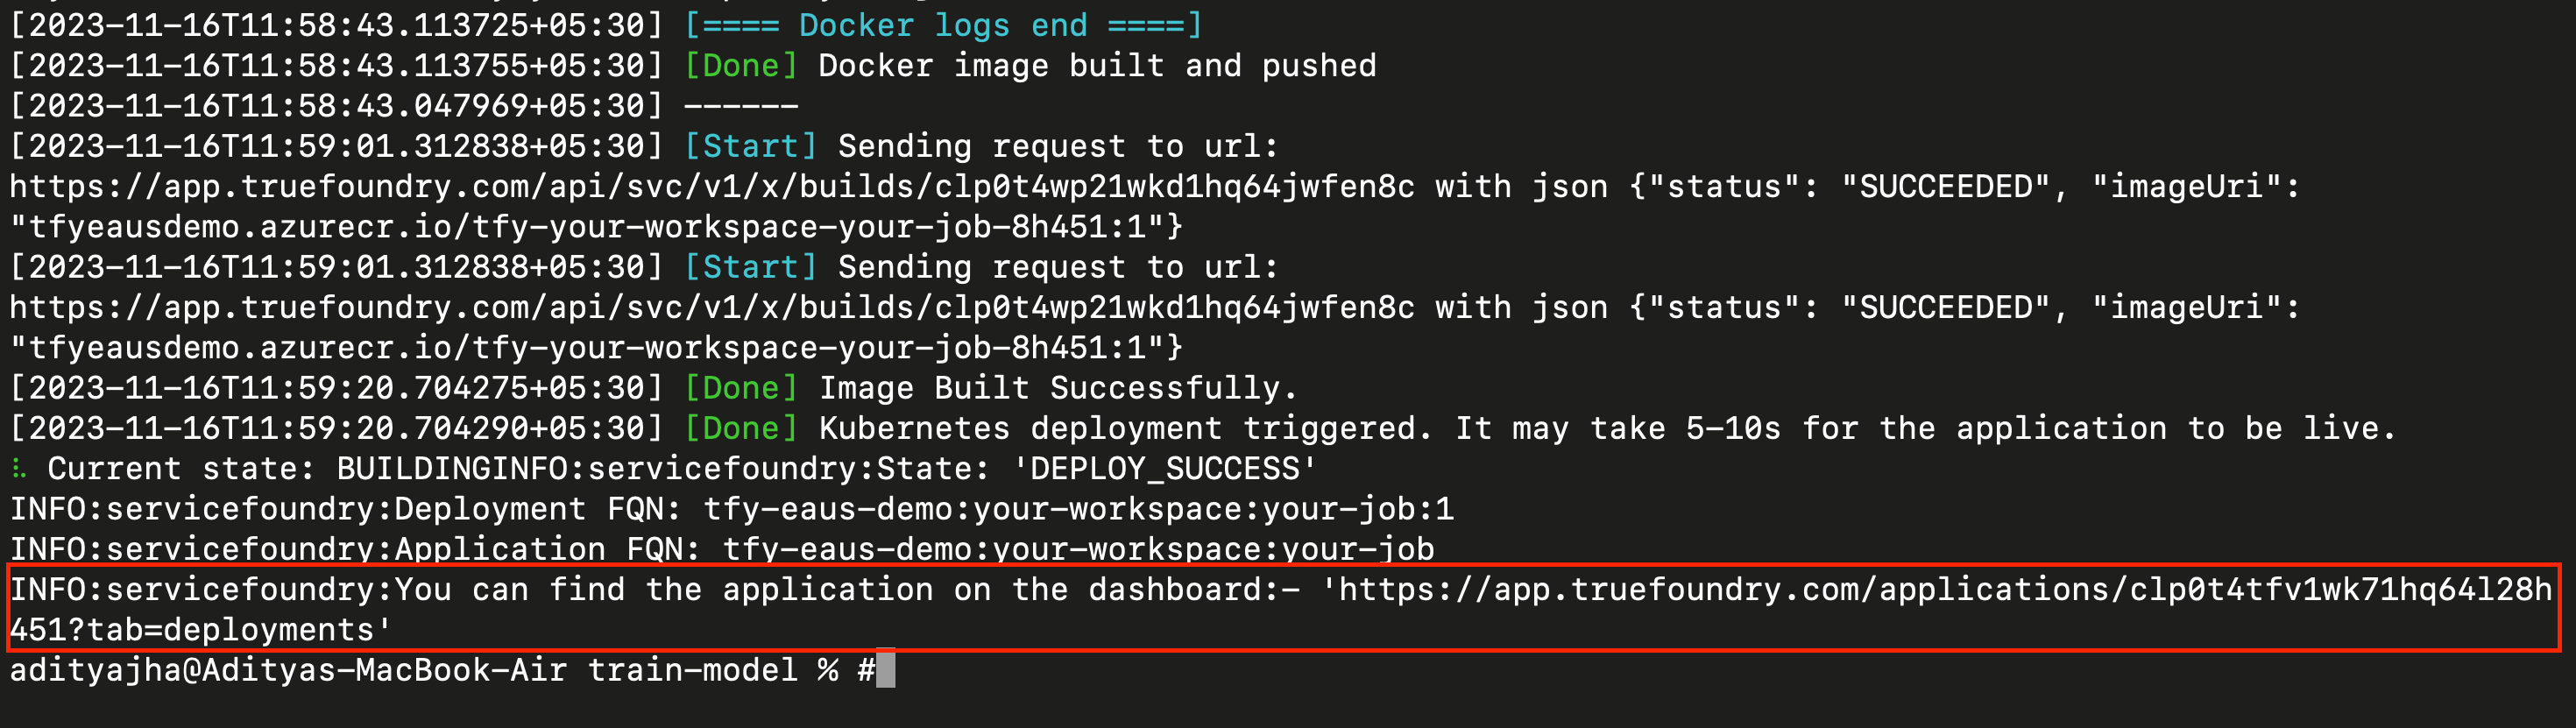
You can find the application on the dashboard:. Click that link to access the deployment dashboard.
View your deployed job
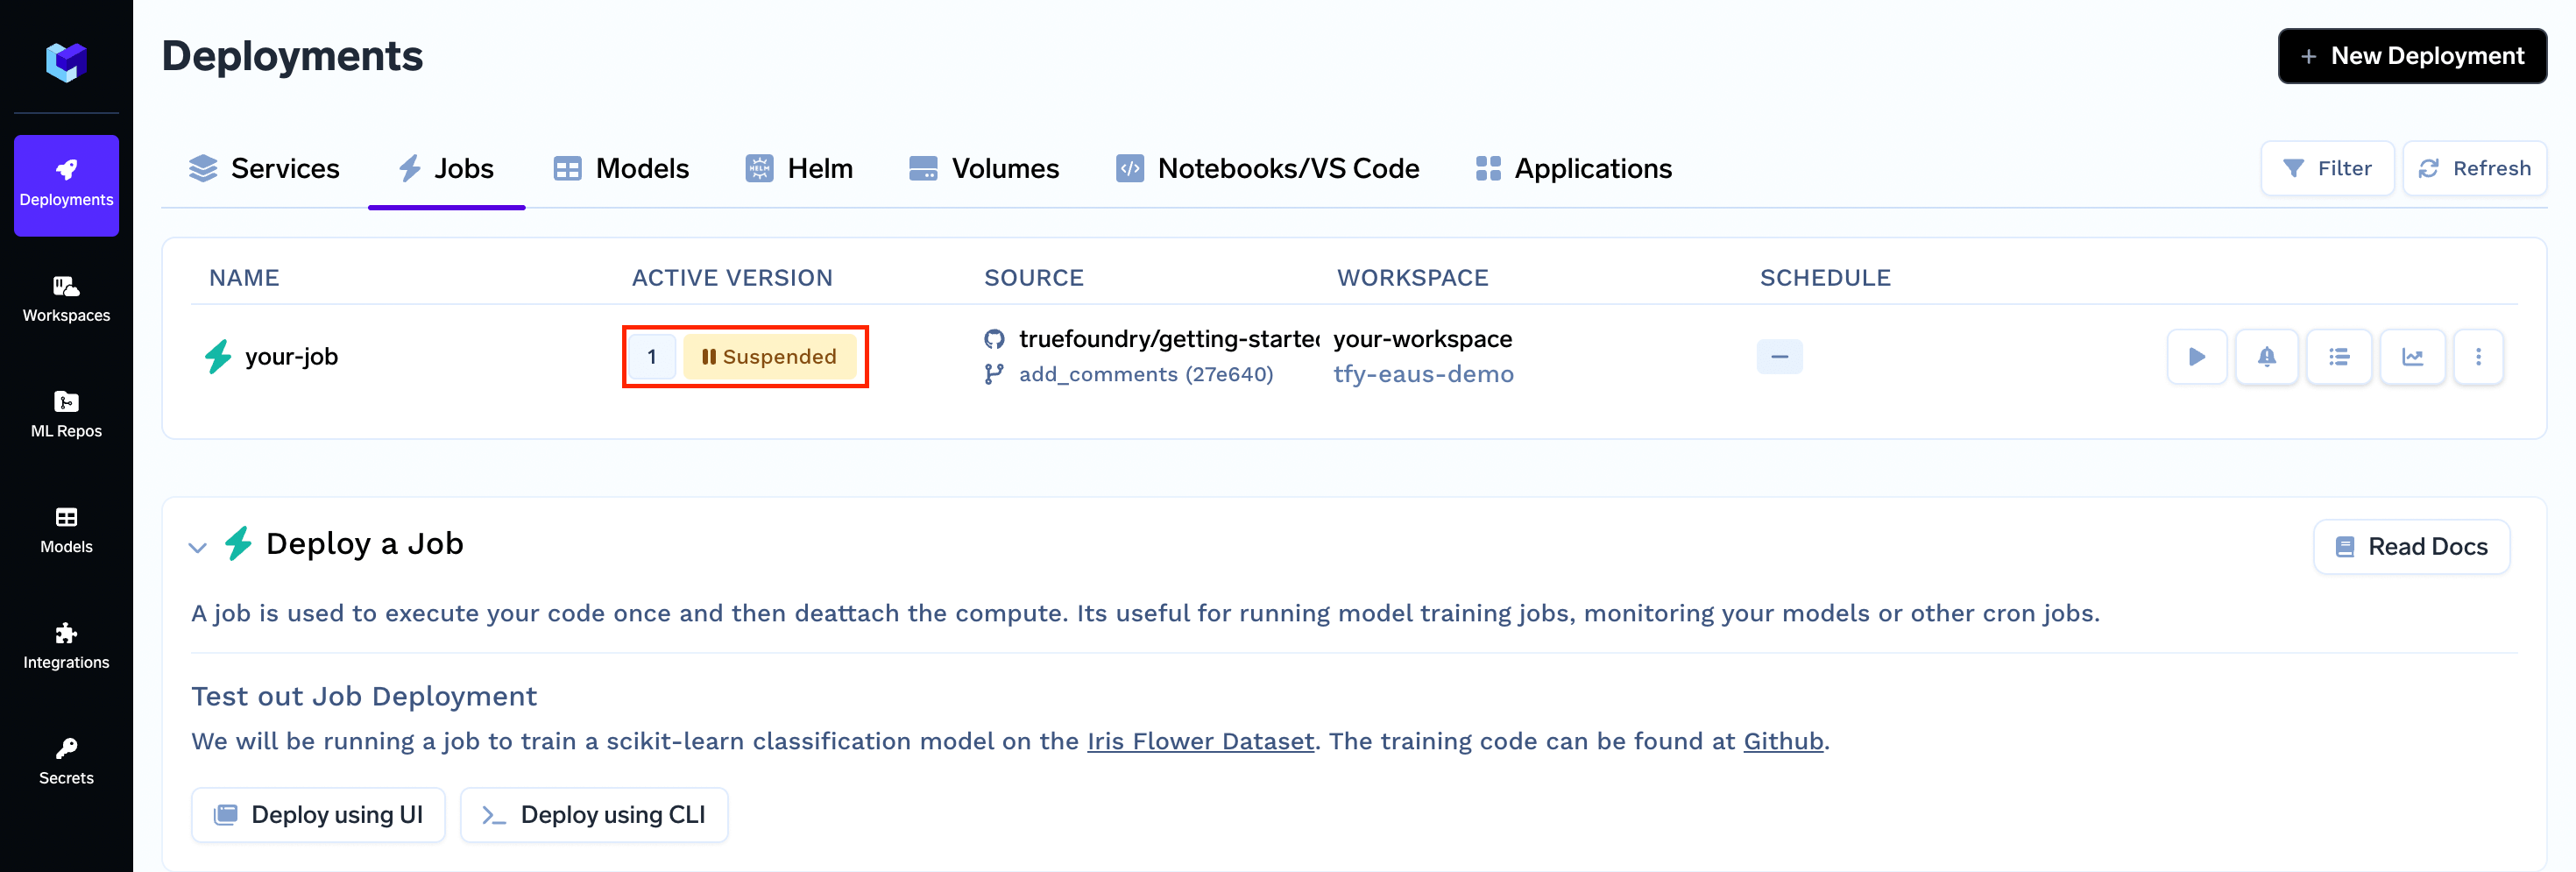
On successful deployment your Job will be displayed as Suspended (yellow) indicating that your Job has been deployed but it will not run automatically.