

New Deployment and select Volume.
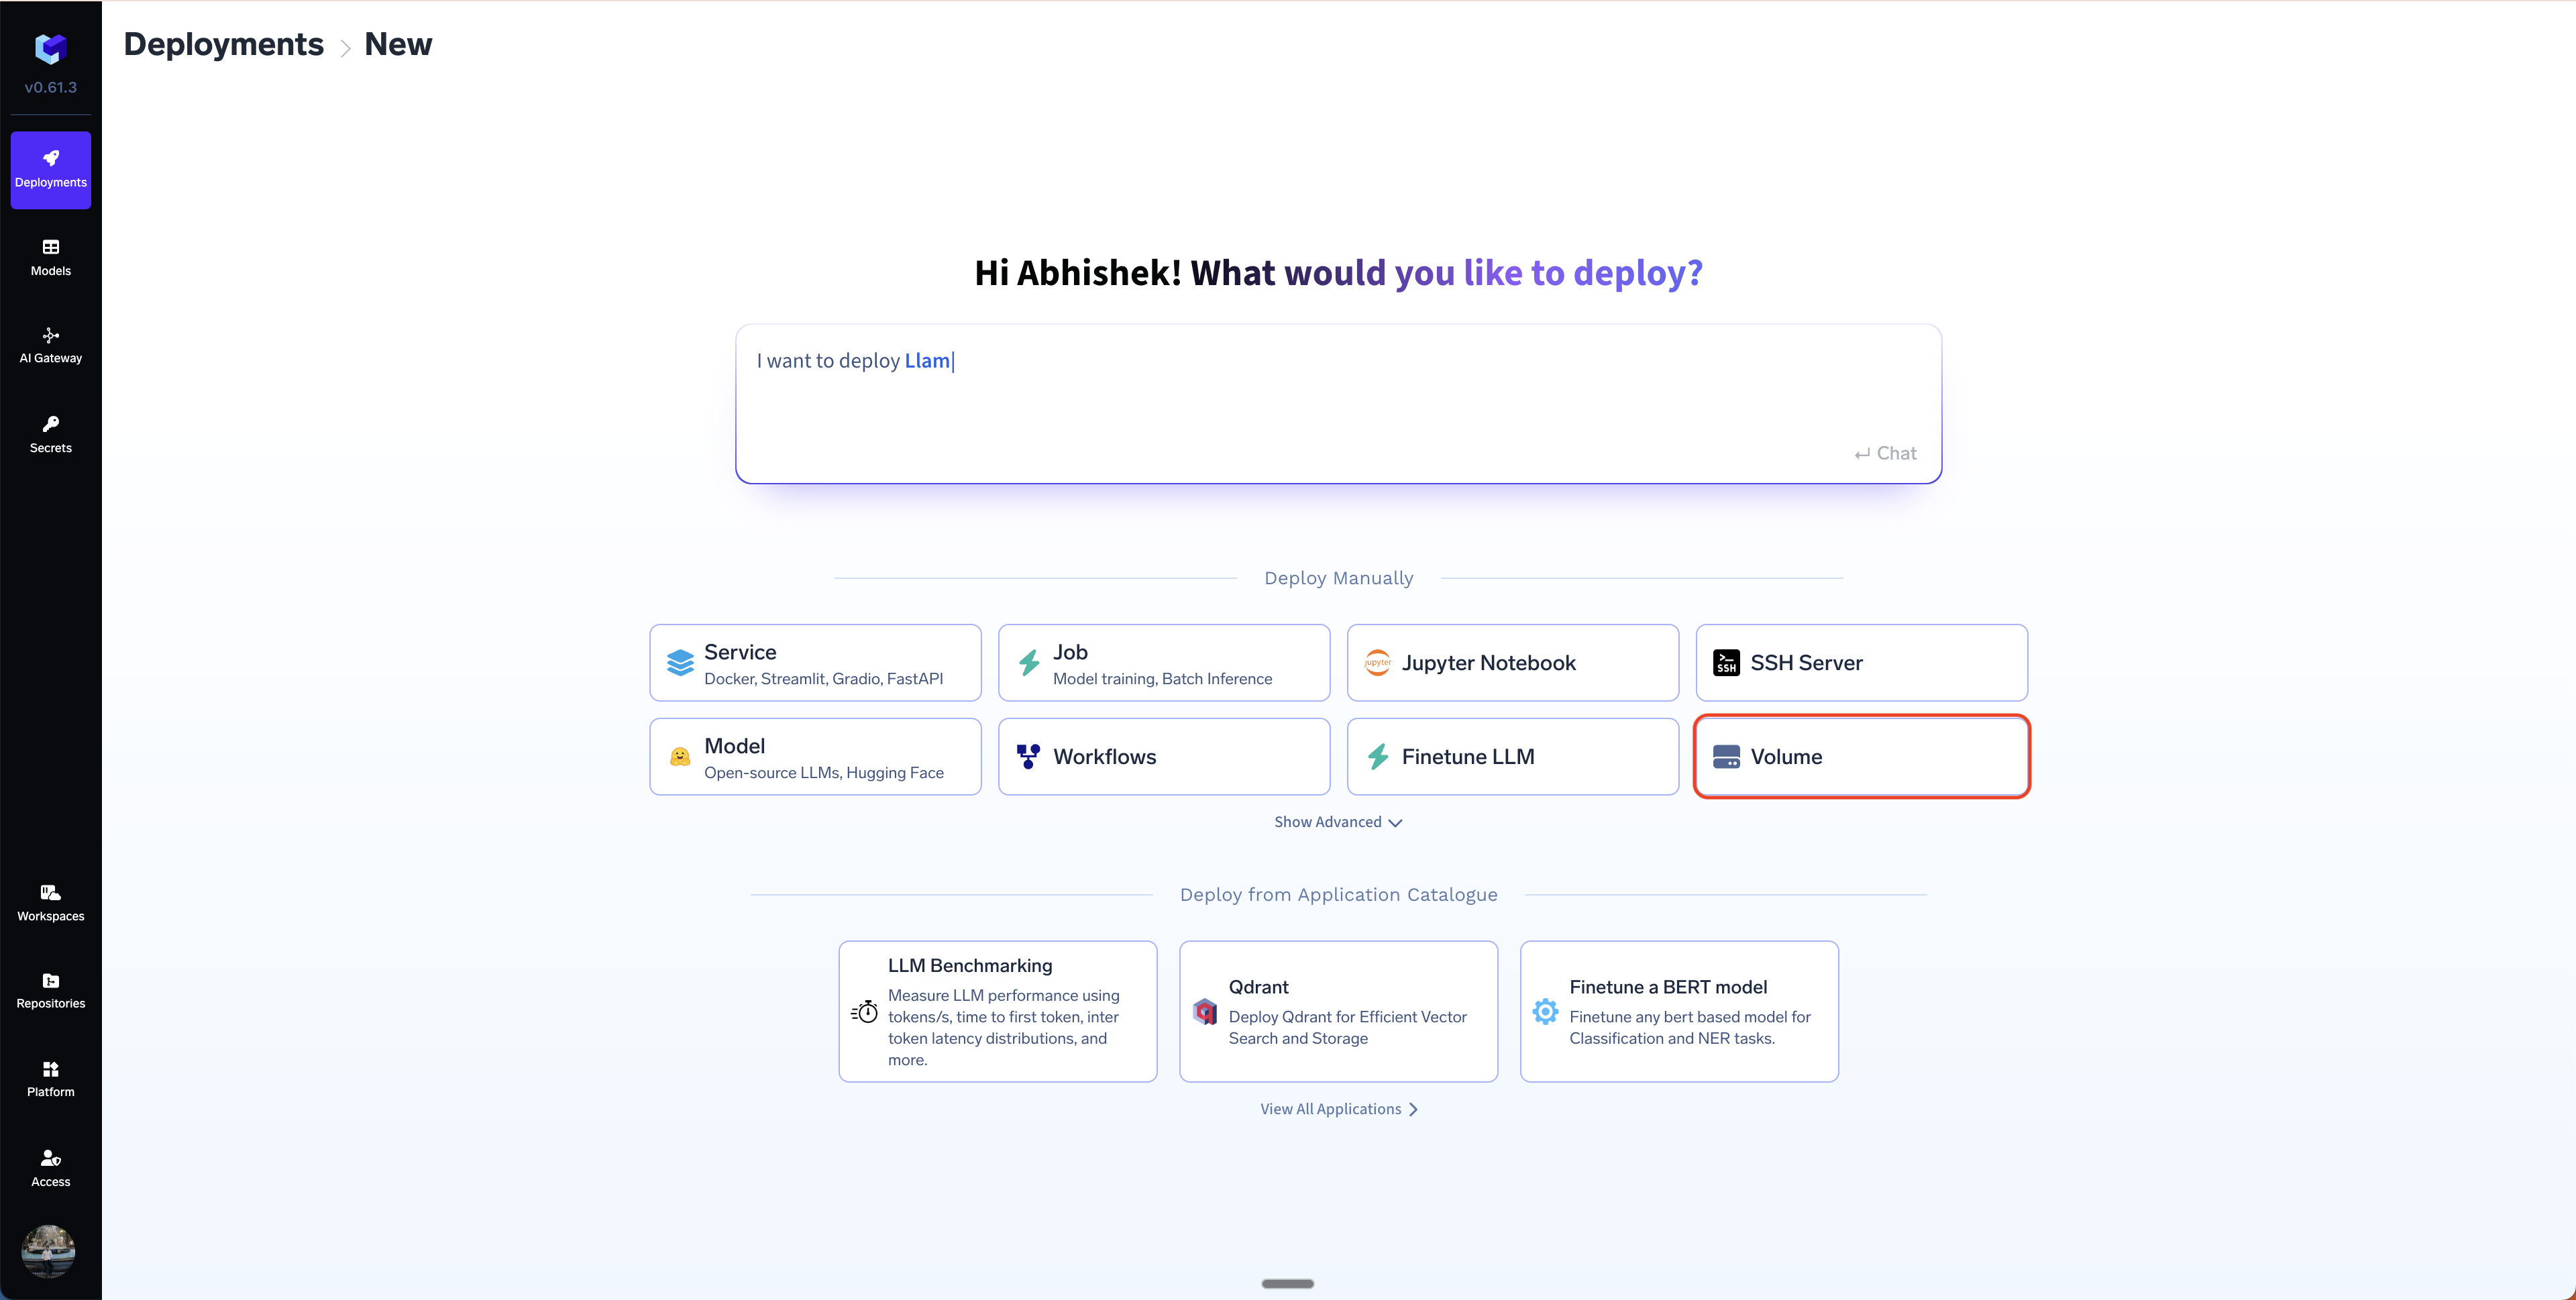
To create a volume, you will need to select a workspace.
Volumes created within a specific workspace in TrueFoundry can only be used by applications deployed within the same workspace.This ensures that the volume’s data is accessible only to the applications that are part of the same environment, enhancing security and organization.
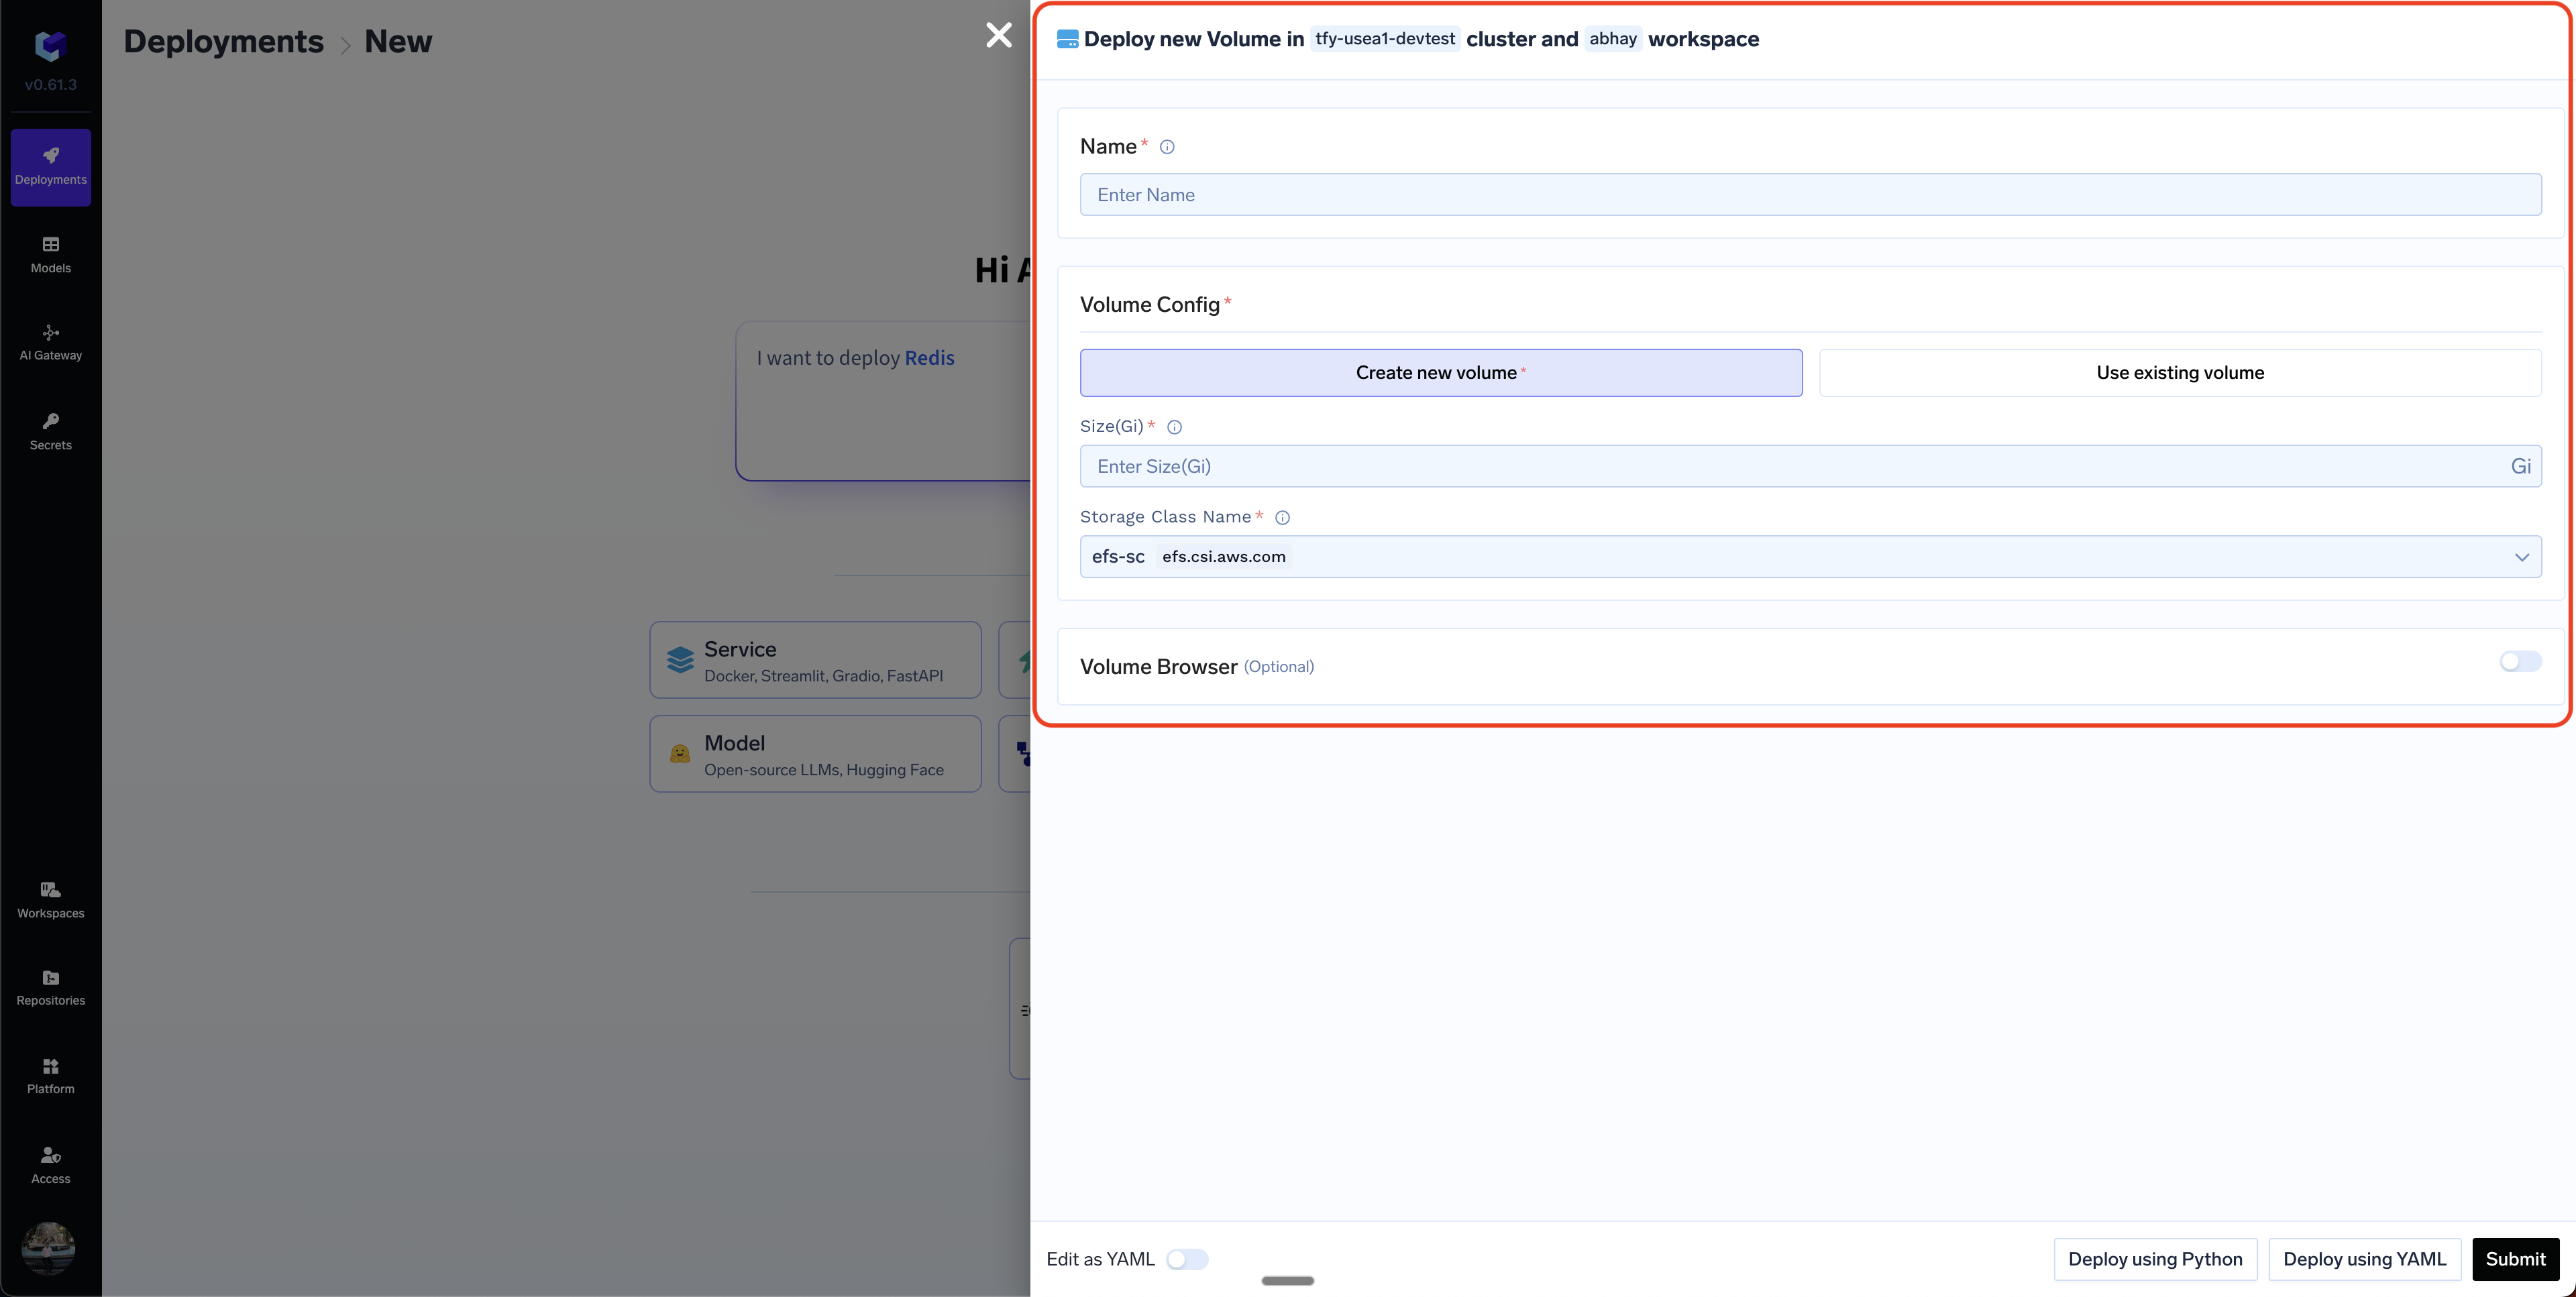
- Name: The name of the volume.
- Volume Config: You can select either of
Create New VolumeorUse Existing Volume.
- Create New Volume
- Use Existing Volume
You will need to fill up two fields here:The most common storage classes available in different cloud providers are:
- Size: The size of the volume in Gi.
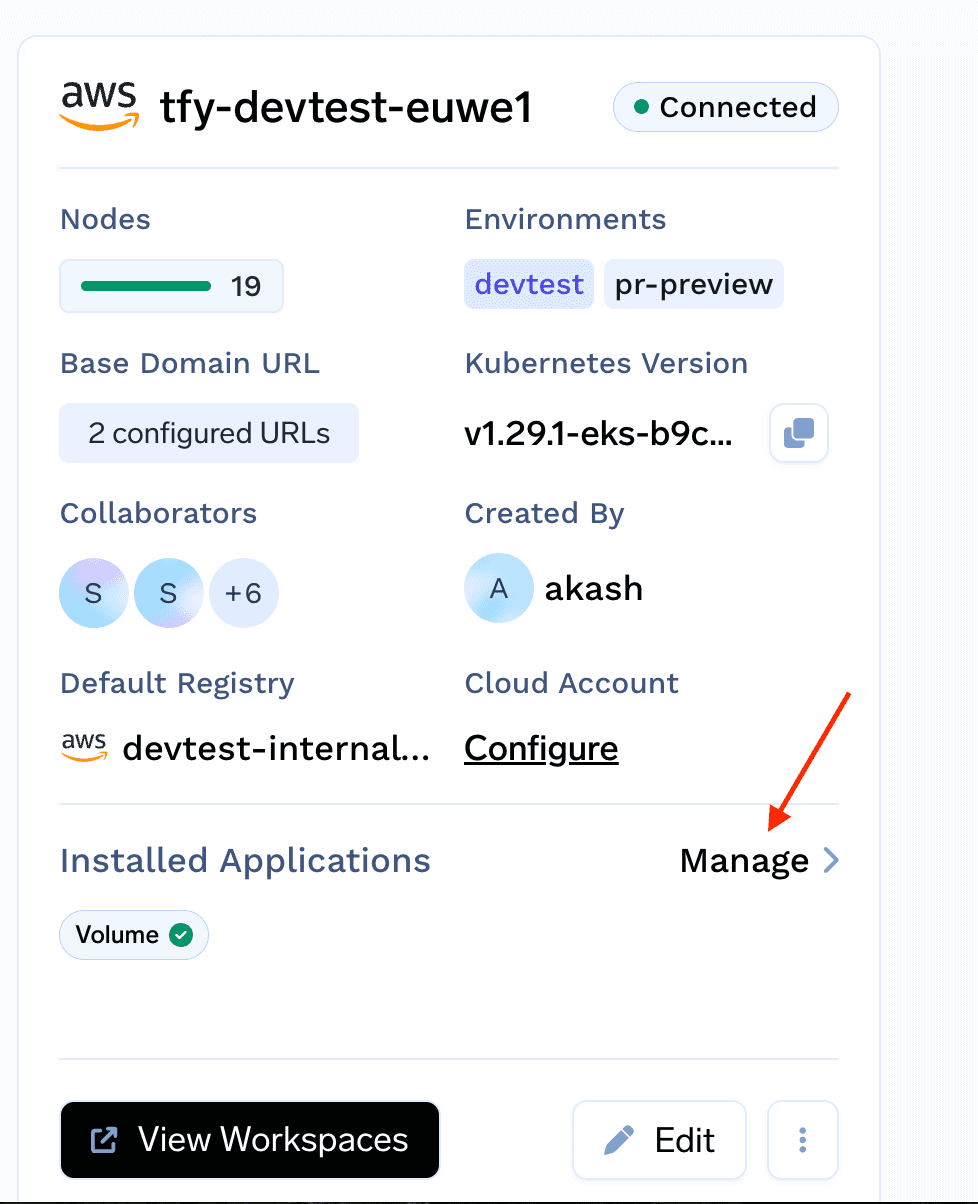
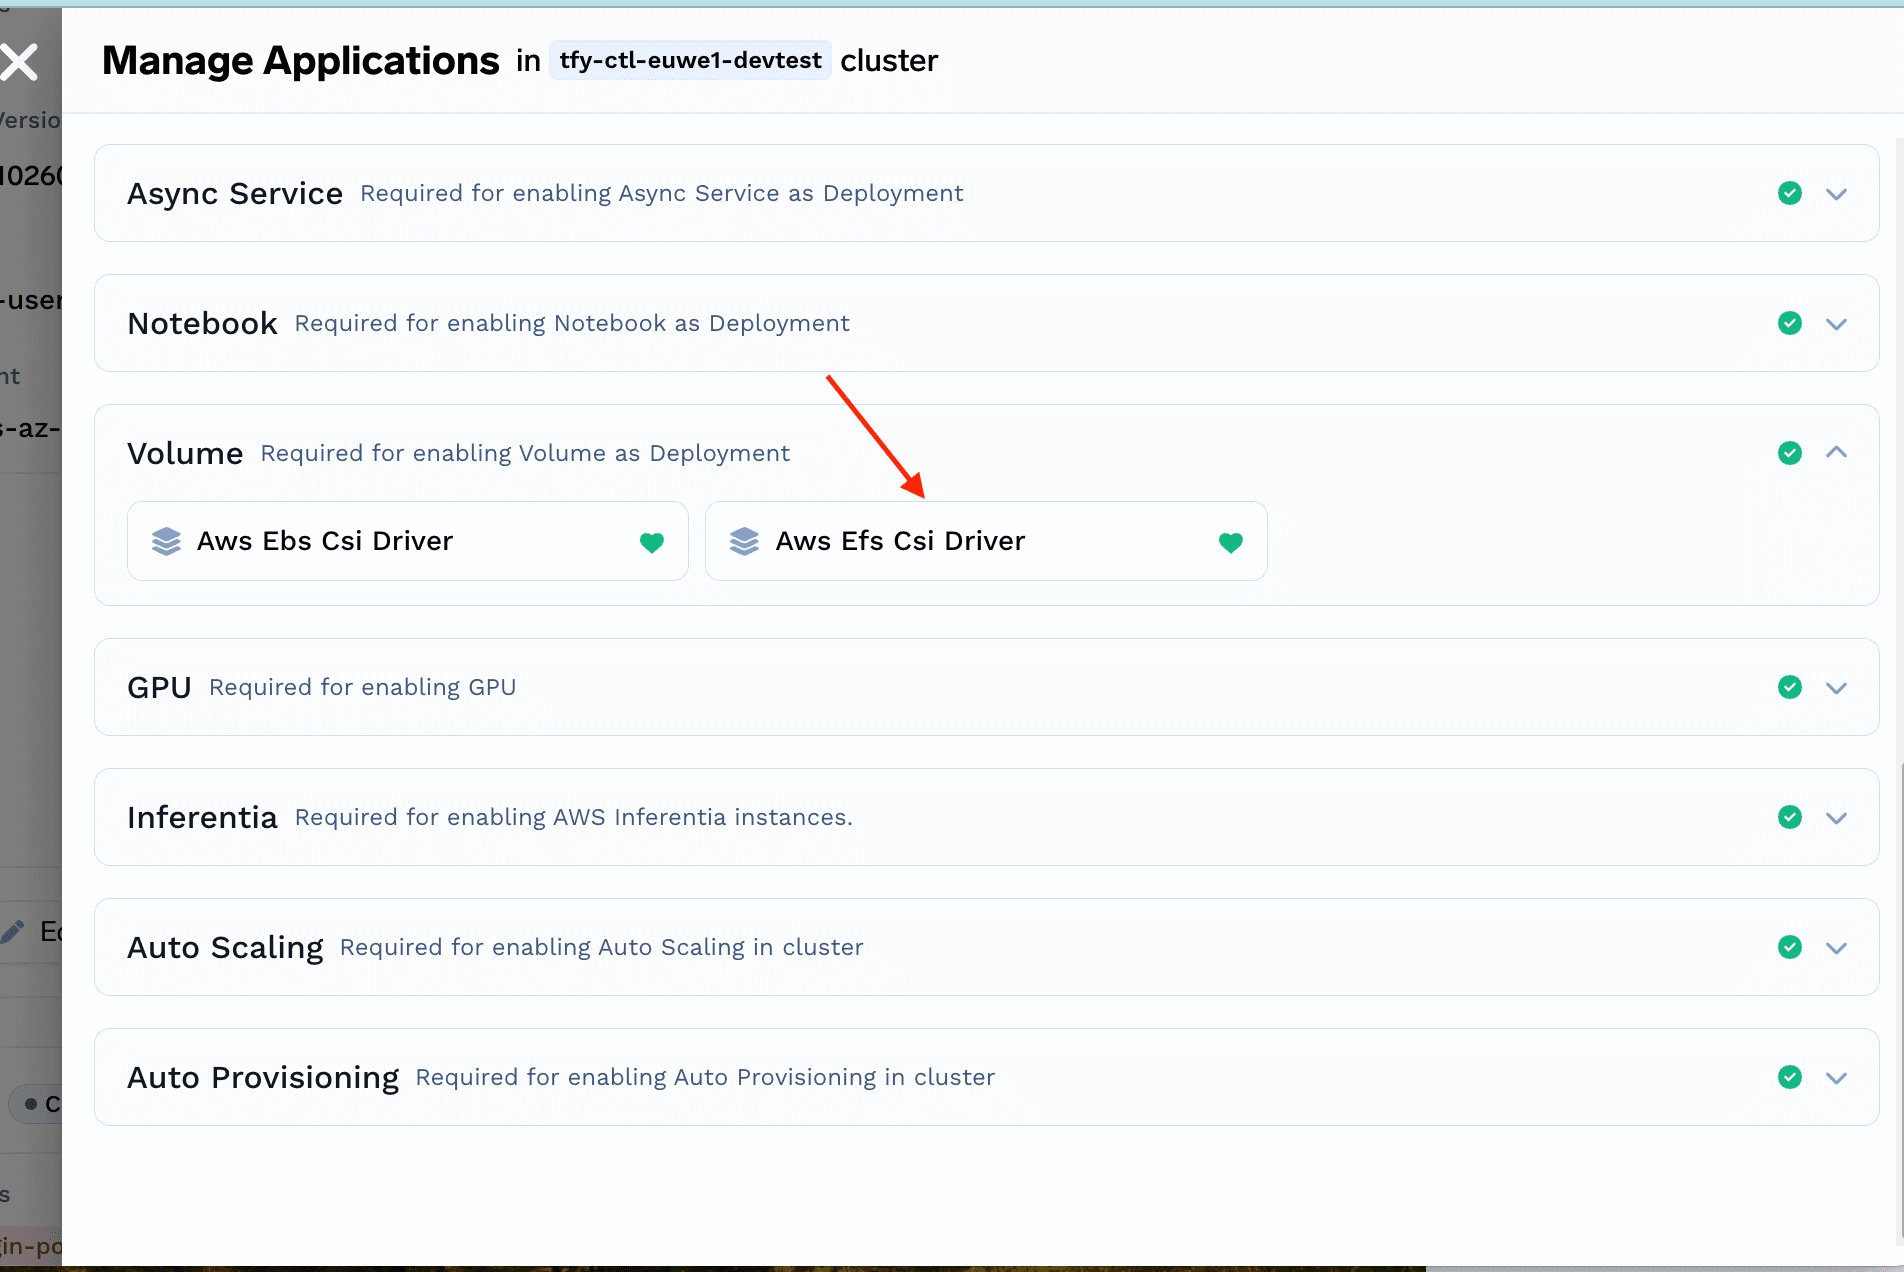
- Storage Class: The Kubernetes storage class to use for the volume. Storage classes provide a way to specify the type of storage that should be provisioned for a Volume. These storage classes differ in their characteristics, such as performance, durability, and cost. The specific storage classes available will depend on the cloud provider you are using and what is preconfigured by the Infra team.
In case you want to whitelist only certain storage classes in the cluster to
be used for provisioning volumes, you can add the
truefoundry.com/enabled: 'true' label to the StorageClass resources. The dropdown will then show
only the storage classes with this label.AWS Storage Classes
AWS Storage Classes
GCP Storage Classes
GCP Storage Classes
Azure Storage Classes
Azure Storage Classes
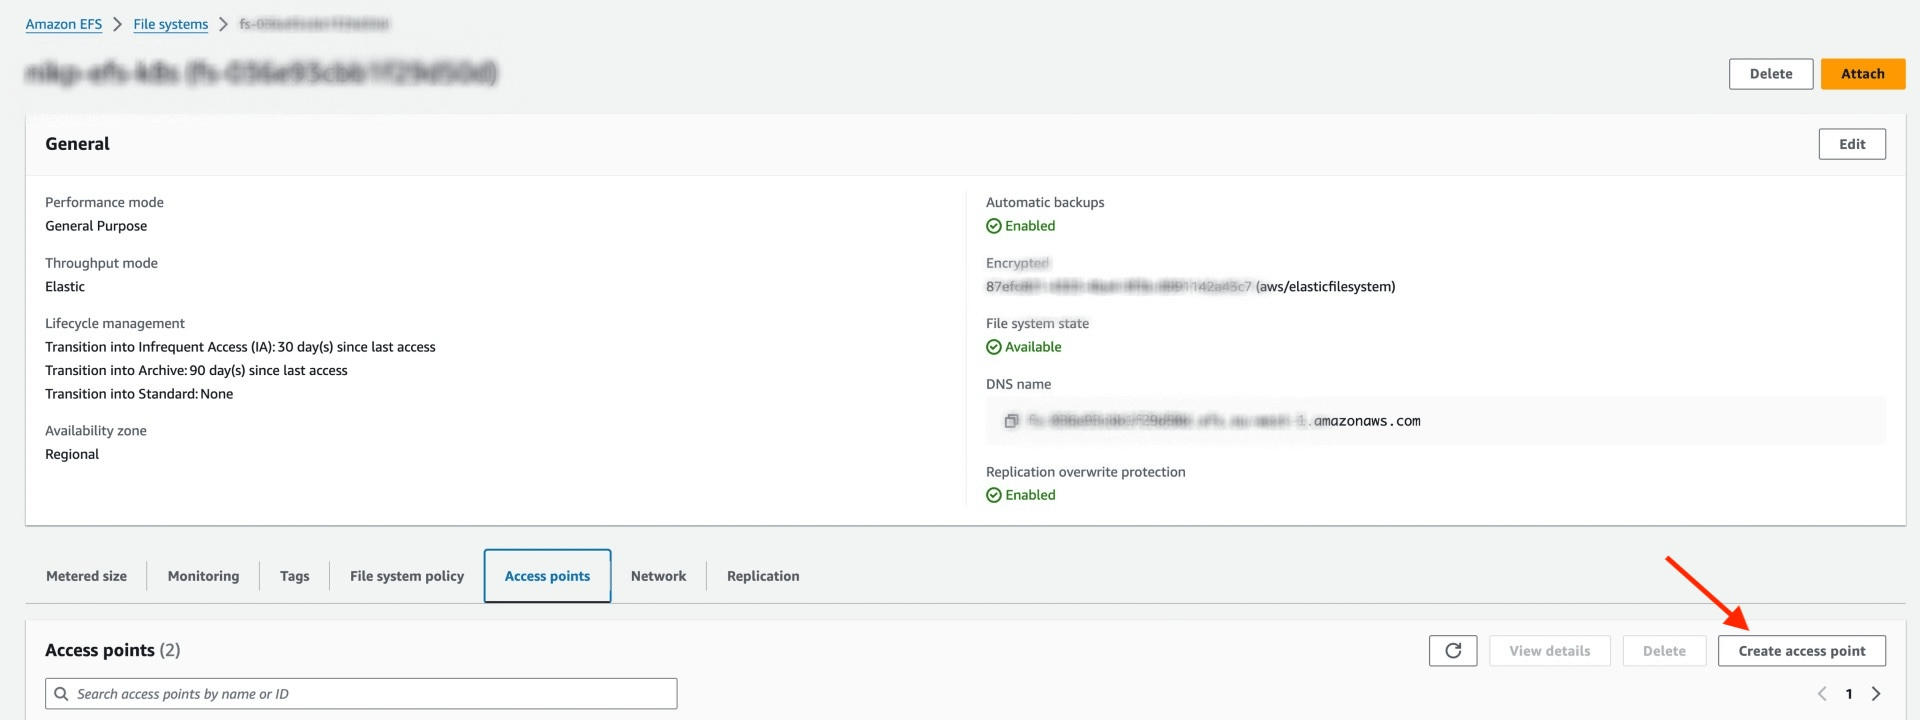
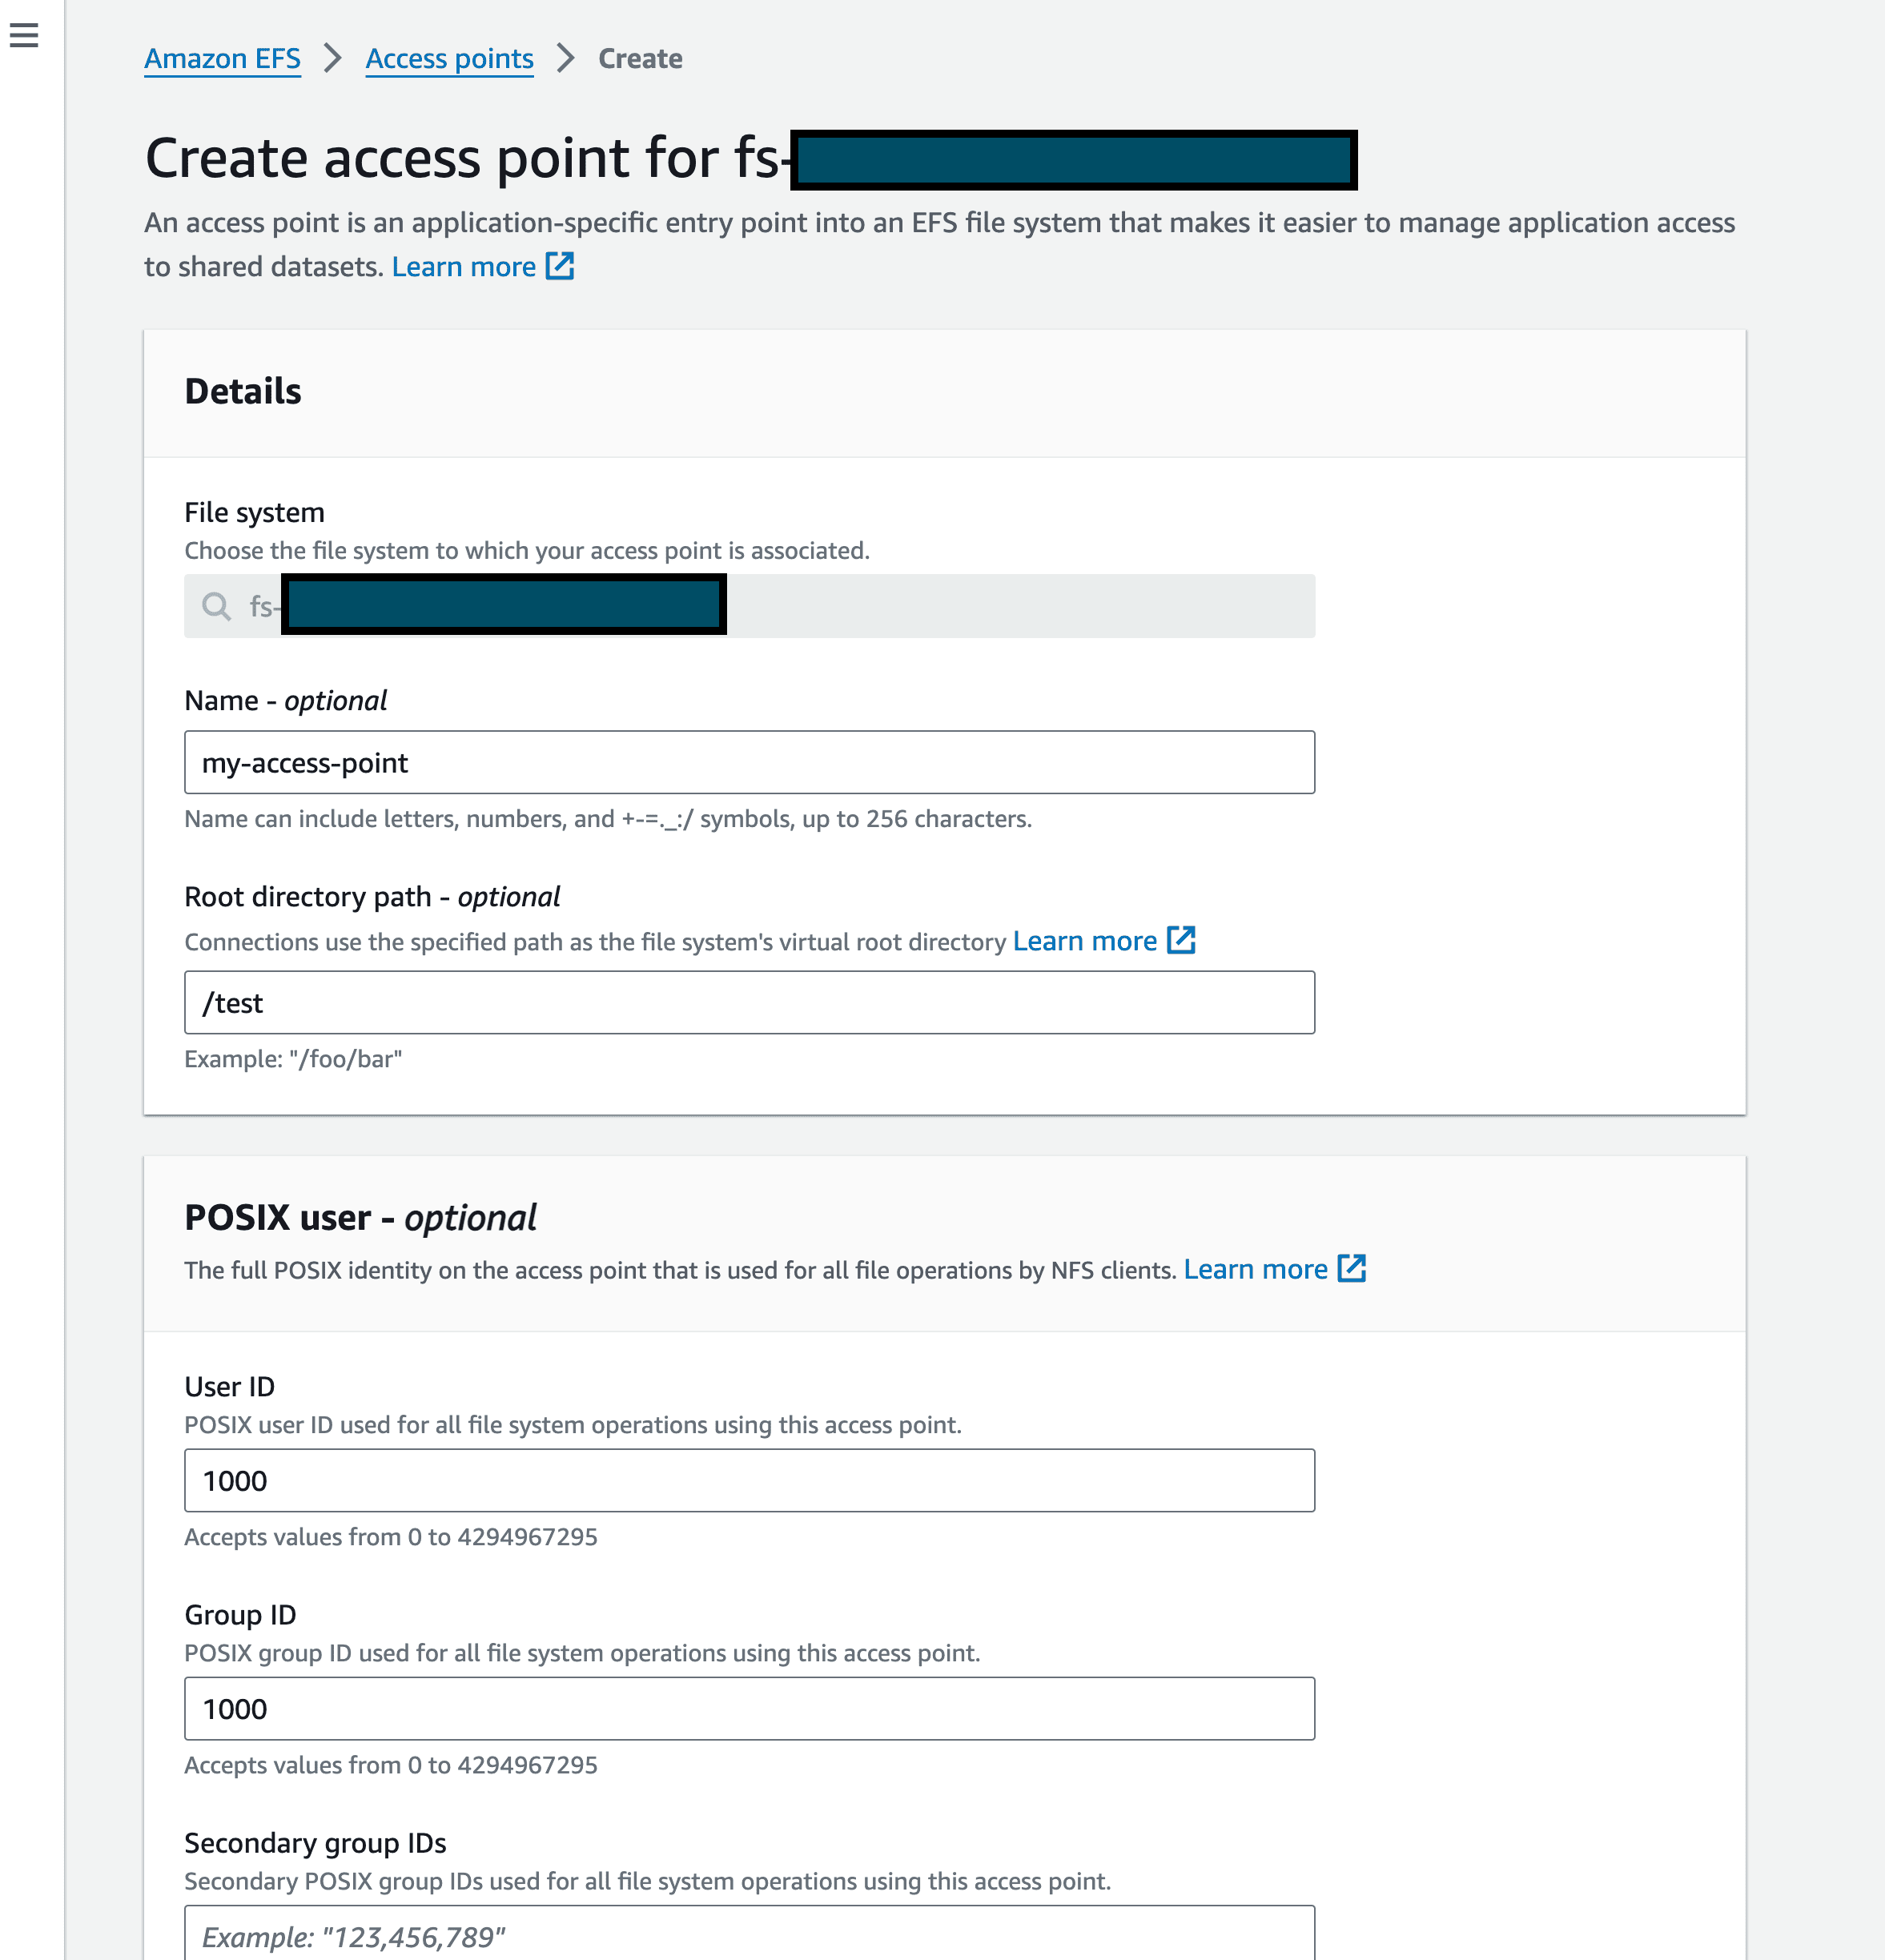
- Volume Browser: Enabling the volume browser will provide you a user-friendly interface that allows you to effortlessly upload, download, and view files stored within the Volumes. The interface will need to be configured with a password so that only authorized users can view the data in the volume. The password will need to be first created as a Secret and then entered in the form below.
Create the secret for the volume browser password
Create the secret for the volume browser password
Using the Volume
Once you press the submit button in the deployment form, the volume will be created within a few seconds. The Volume Dashboard will transform to appear as follows:
Browse / Upload / Download data using Volume Browser
Browse / Upload / Download data using Volume Browser
Once set-up, you can use Volume Browser to effortlessly upload, download, and view files stored within the Volumes.
Use the volume to store / read data from your deployments
Use the volume to store / read data from your deployments
You can attach Volumes to various types of deployments, including Services and Jobs. You can then read and write data to the volume like you would normally read and write data to a file system.You can read this guide to learn more about how to use volumes in deployments. This guide is for Service, but the same can be applied to Jobs as well.