

Architecture
The diagram below shows the architecture of the TrueFoundry compute plane.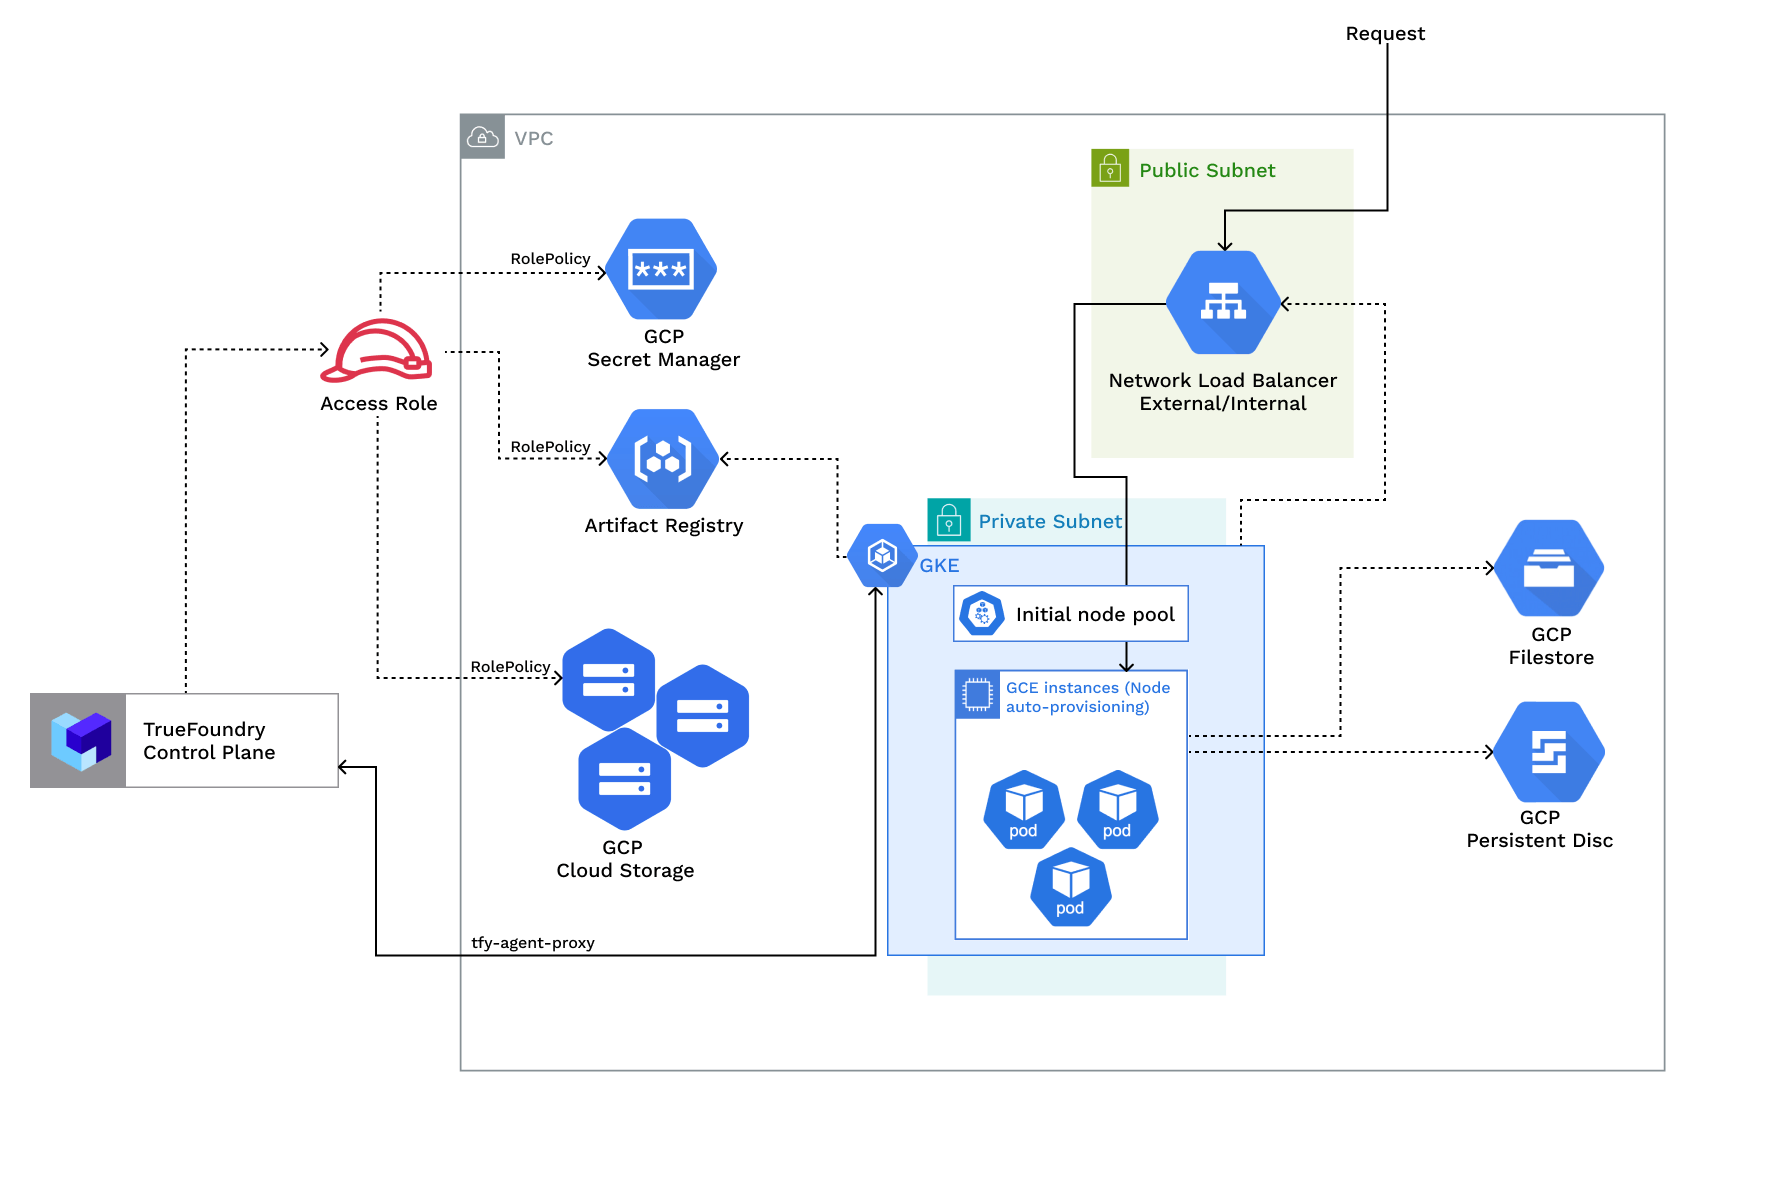
Access Policies
The compute plane requires the following IAM policies to operate. These are created automatically during platform deployment.Required IAM policies
Required IAM policies
Requirements
Common requirements for setting up the compute plane:- Billing must be enabled for the GCP account.
- The following APIs must be enabled in the project:
- Compute Engine API
- Kubernetes Engine API
- Cloud Storage API (blob storage buckets)
- Artifact Registry API (Docker registry and image builds)
- Secret Manager API
- Egress access to container registries —
public.ecr.aws,quay.io,ghcr.io,tfy.jfrog.io,docker.io/natsio,nvcr.io,registry.k8s.io— to pull images for ArgoCD, NATS, GPU Operator, Argo Rollouts, Argo Workflows, Istio, and Keda. - A domain mapped to the service endpoints, plus a certificate to encrypt traffic. A wildcard domain such as
*.services.example.comis preferred. TrueFoundry supports path-based routing (e.g.services.example.com/tfy/*), but many frontend applications do not. See Setting up TLS in GCP for details. - Sufficient CPU/GPU quotas for your use case. Check and increase them at GCP compute quotas.
- Service account key creation must be allowed for the service account used by the platform.
- Sufficient permissions on the GCP project to create the compute-plane resources. Project Owner/Editor is the simplest; for least privilege, see Permissions required to create the infrastructure.
Permissions required to create the infrastructure
Bind the following predefined roles to the service account at the project. This is the base cluster set plus the compute-plane (blob + registry + identity) delta. These roles are service-scoped — broad within a service, never project-wideroles/editor/roles/owner.
Prerequisite APIs
Prerequisite APIs
API enablement is a prerequisite, not a resource in any module. Either pre-enable these on the project, or grant
roles/serviceusage.serviceUsageAdmin so the principal can enable them:container.googleapis.com— GKEcompute.googleapis.com— VPC / subnet / router / NAT / firewalliam.googleapis.com— service accounts + custom rolesstorage.googleapis.com— GCS bucketsecretmanager.googleapis.com— referenced by the secret-manager custom roleartifactregistry.googleapis.com— referenced by the artifact-registry custom roledns.googleapis.com— only when the DNS feature is enabled
- New VPC and New GKE Cluster
- Existing VPC and New GKE Cluster
- Existing GKE Cluster
- The new VPC subnet should have a CIDR range of /24 or larger. Secondary ranges for pods (min /20) and services (min /24) are required. Secondary range can be from a non-routable range. This is to ensure capacity for ~250 instances and 4096 pods.
- A user/service account to provision the infrastructure.
Setting up compute plane
TrueFoundry compute plane infrastructure is provisioned using OpenTofu/Terraform. You can download the OpenTofu/Terraform code for your exact account by filling up your account details and downloading a script that can be executed on your local machine.1
Enable Deployment Feature in the Platform (Optional)
To enable the deployment feature which allows you to deploy services through the platform, you need to enable it;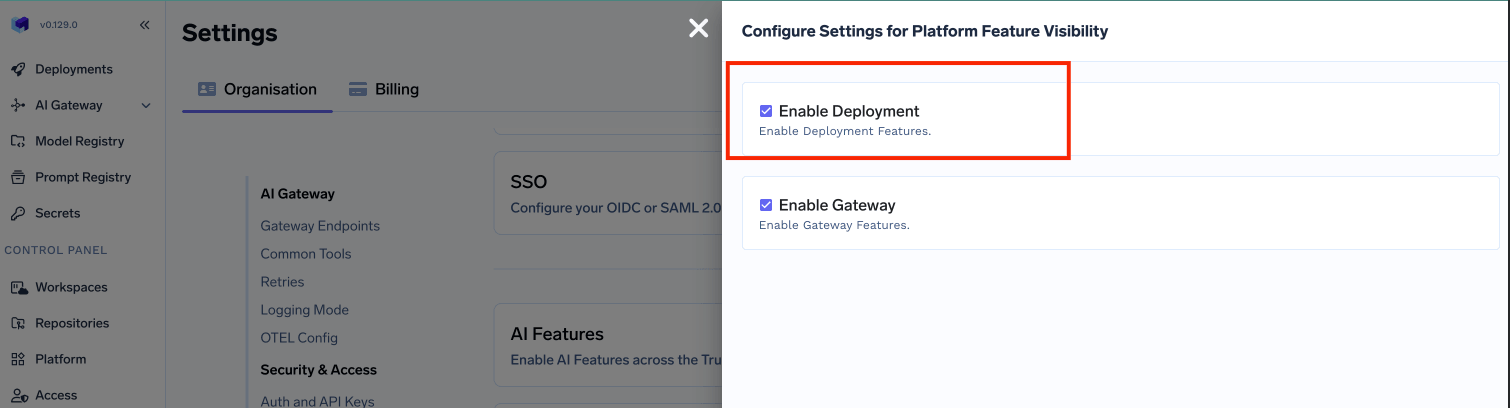
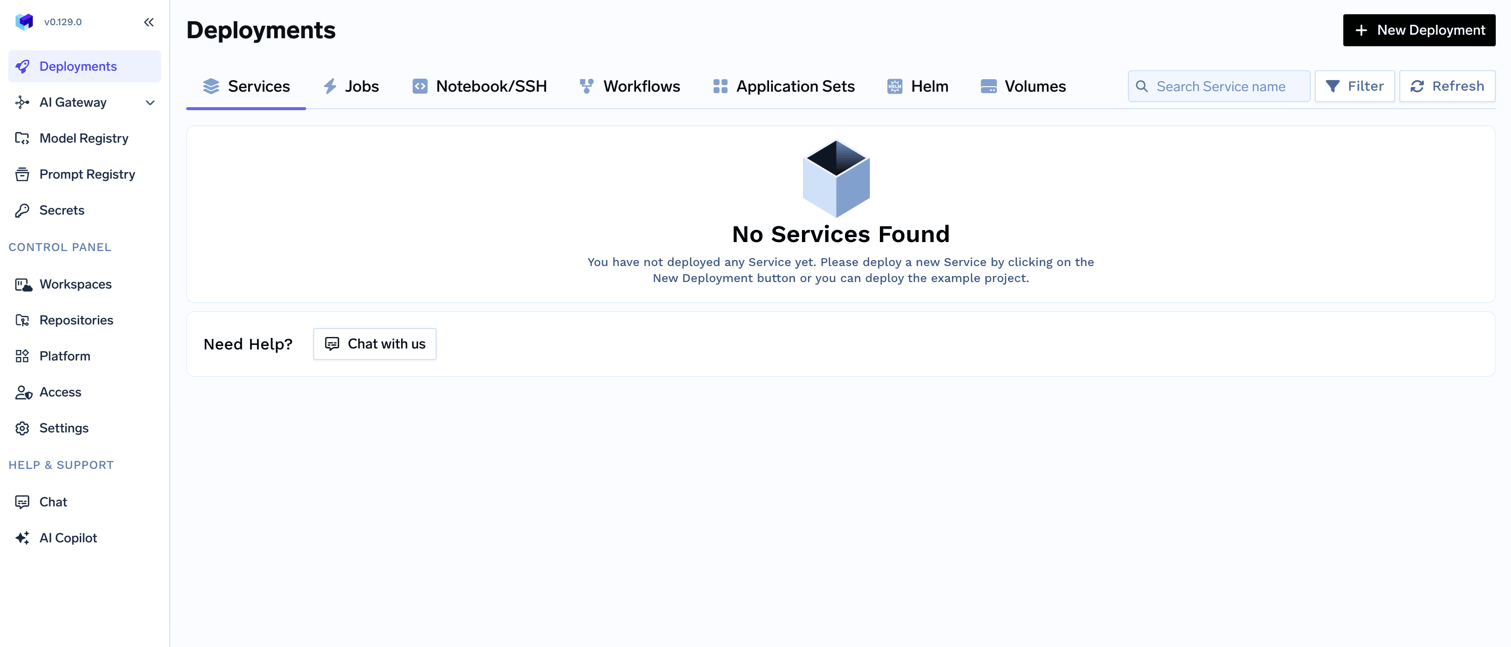
- In the left hand navigation, go to
SettingsthenPlatform Feature VisibilityunderPreferences - Click on
Editbutton. Then enable the toggle forEnable Deployment
- Click on
Savebutton.
2
Choose to create a new cluster or attach an existing cluster
Go to the platform section in the left panel and click on 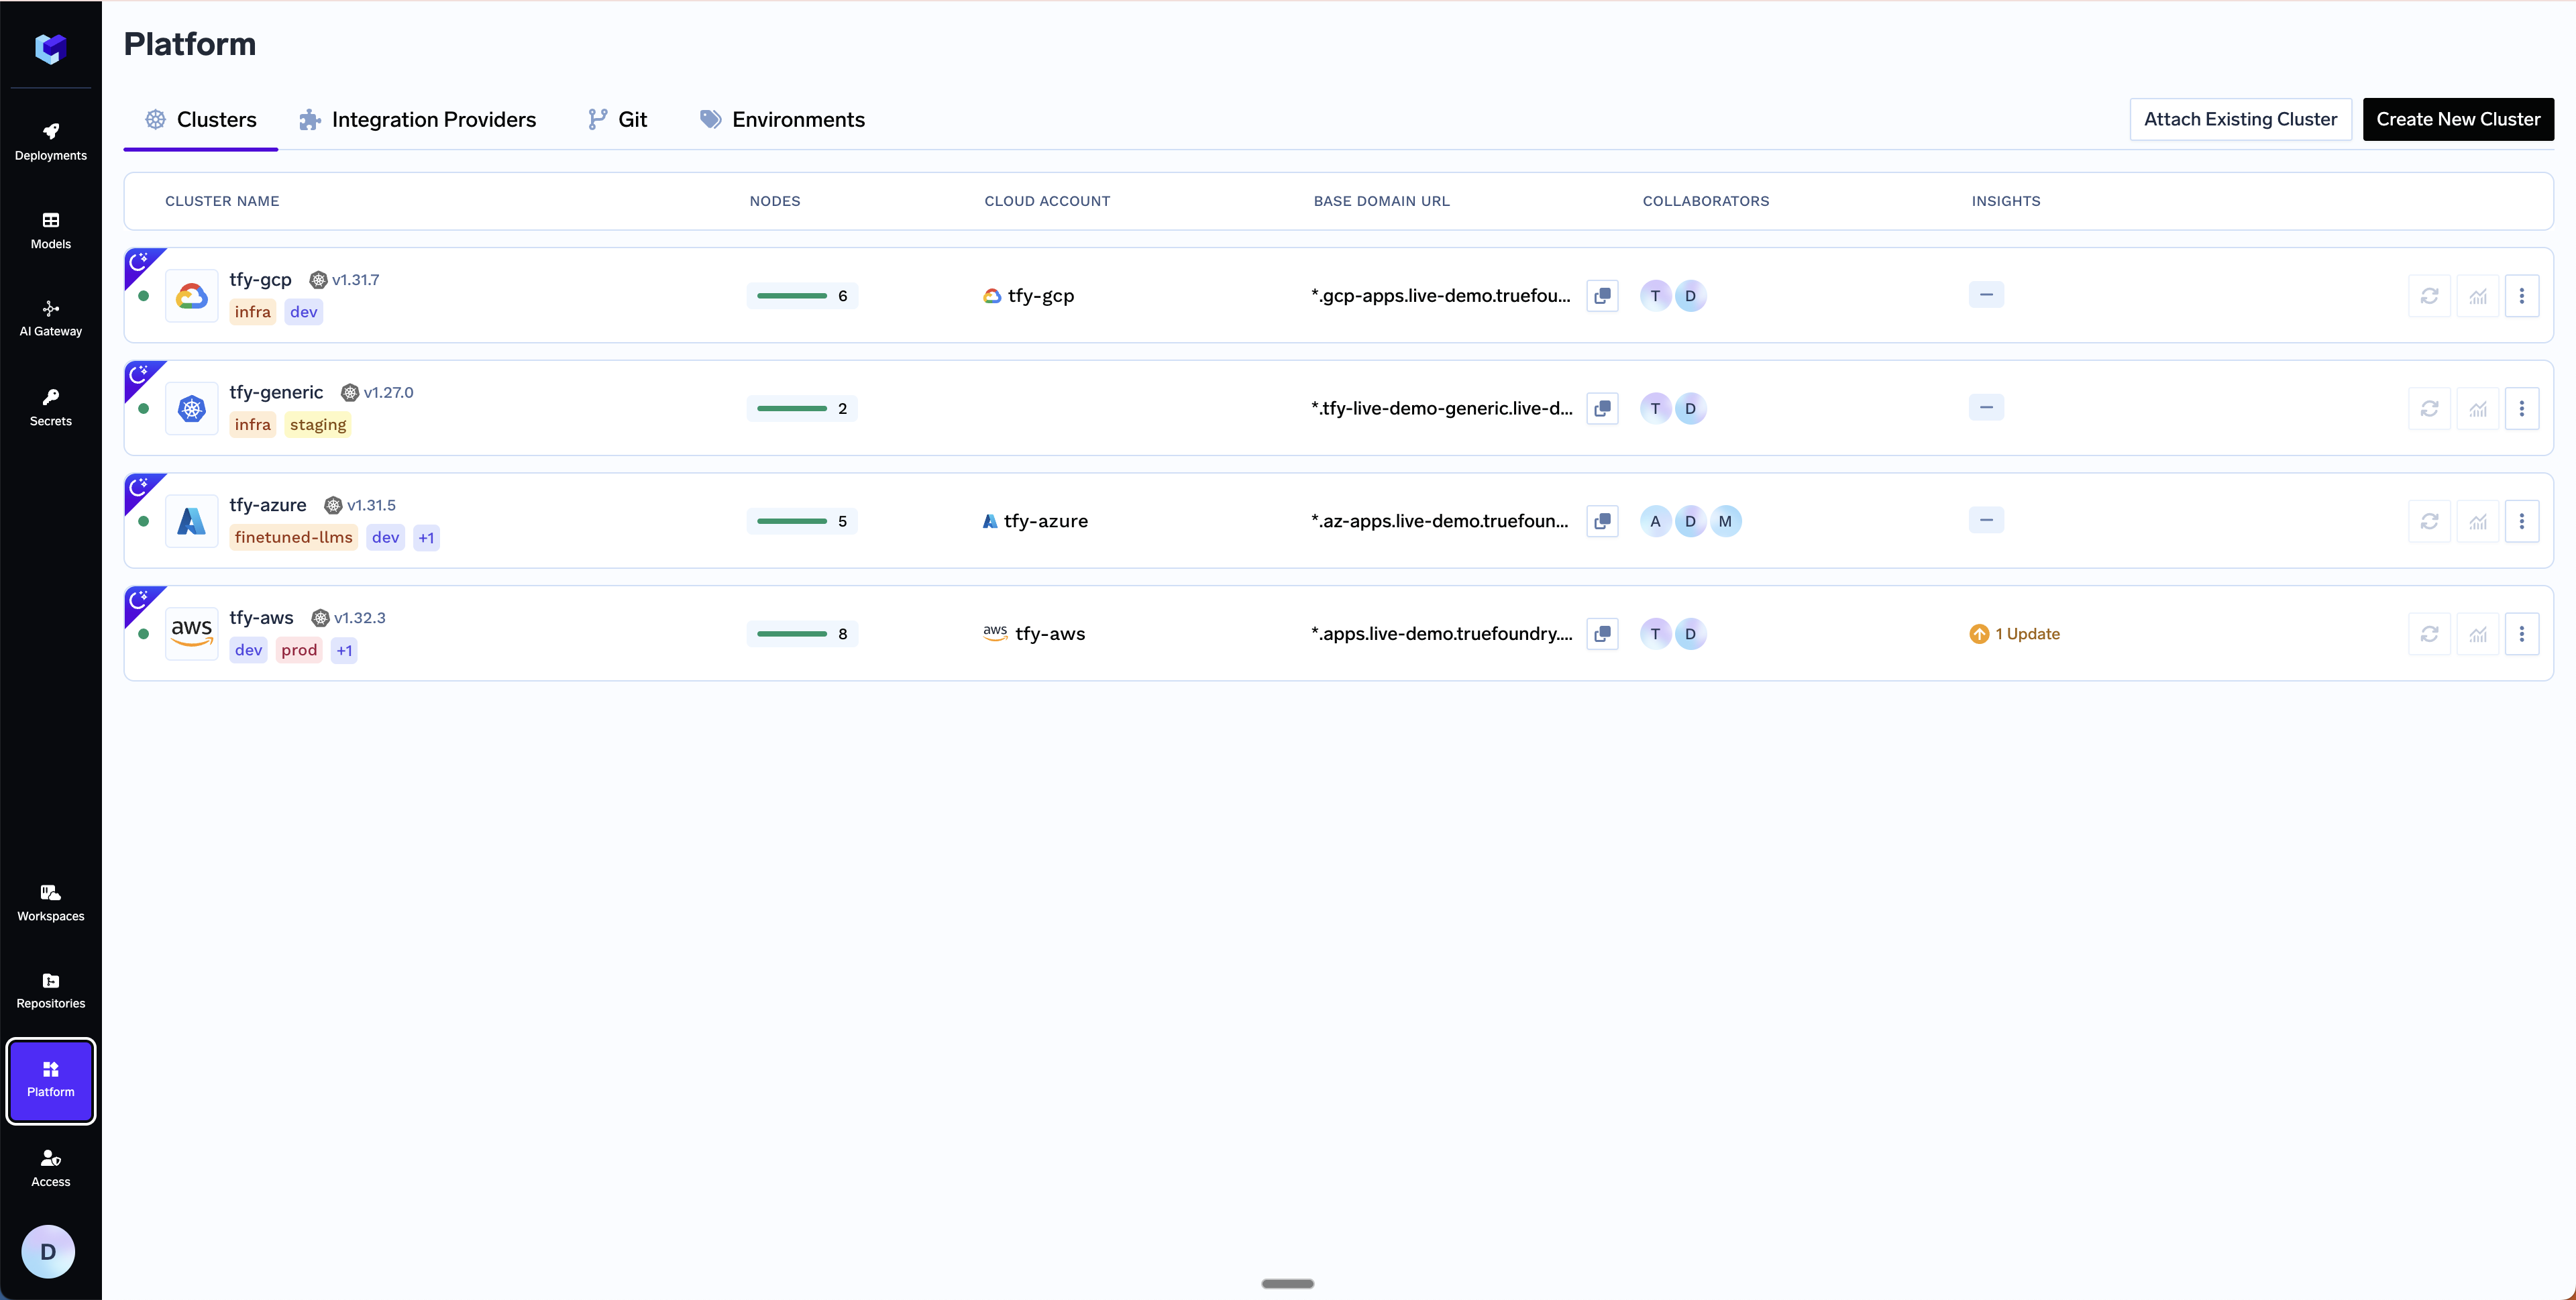
Clusters. You can click on Create New Cluster or Attach Existing Cluster depending on your use case. Read the requirements and if everything is satisfied, click on Continue.3
Fill up the form to generate the OpenTofu/Terraform code
A form will be presented with the details for the new cluster to be created. Fill in with your cluster details. Click
Submit when done.- Create New Cluster
- Attach Existing Cluster
The key fields to fill up here are:
Region- The region and availability zones where you want to create the cluster.Project ID- The project ID where you want to create the cluster.Cluster Name- A name for your cluster.Cluster VersionandMaster node IPv4 block- The version of the cluster and the IPv4 block for the master nodes.Network Configuration- Choose betweenNew networkorExisting networkdepending on your use case.DNS Configuration- Configure the DNS zone and domains that will point to the cluster’s load balancer. This also provisions a TLS certificate for those domains. Select New DNS Zone or Existing DNS Zone if you want TrueFoundry to provision DNS in GCP. If you use an external DNS provider (e.g., Route53, Cloudflare), you can skip this section.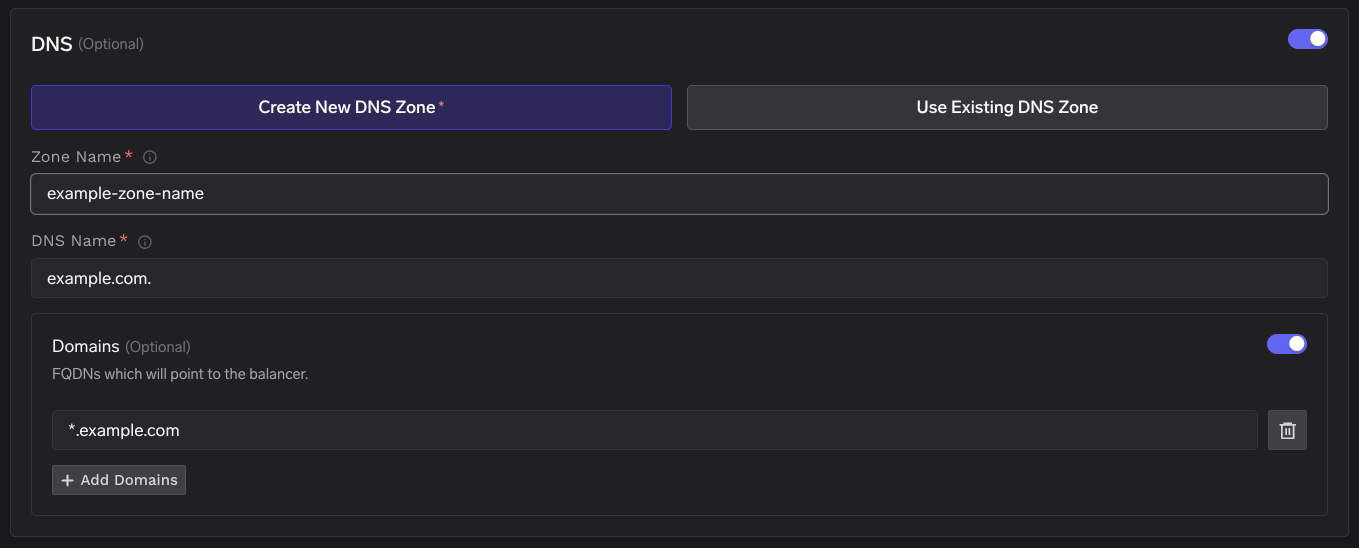
GCS Bucket for OpenTofu/Terraform State- OpenTofu/Terraform state will be stored in this bucket. It can be a preexisting bucket or a new bucket name. The new bucket will automatically be created by our script.Platform Features- This is to decide which features like Blob Storage, Cluster Integration, Docker Registry, and Secrets Manager will be enabled for your cluster. To read more on how these integrations are used in the platform, please refer to the platform features page.
4
Copy the curl command and execute it on your local machine
You will be presented with a 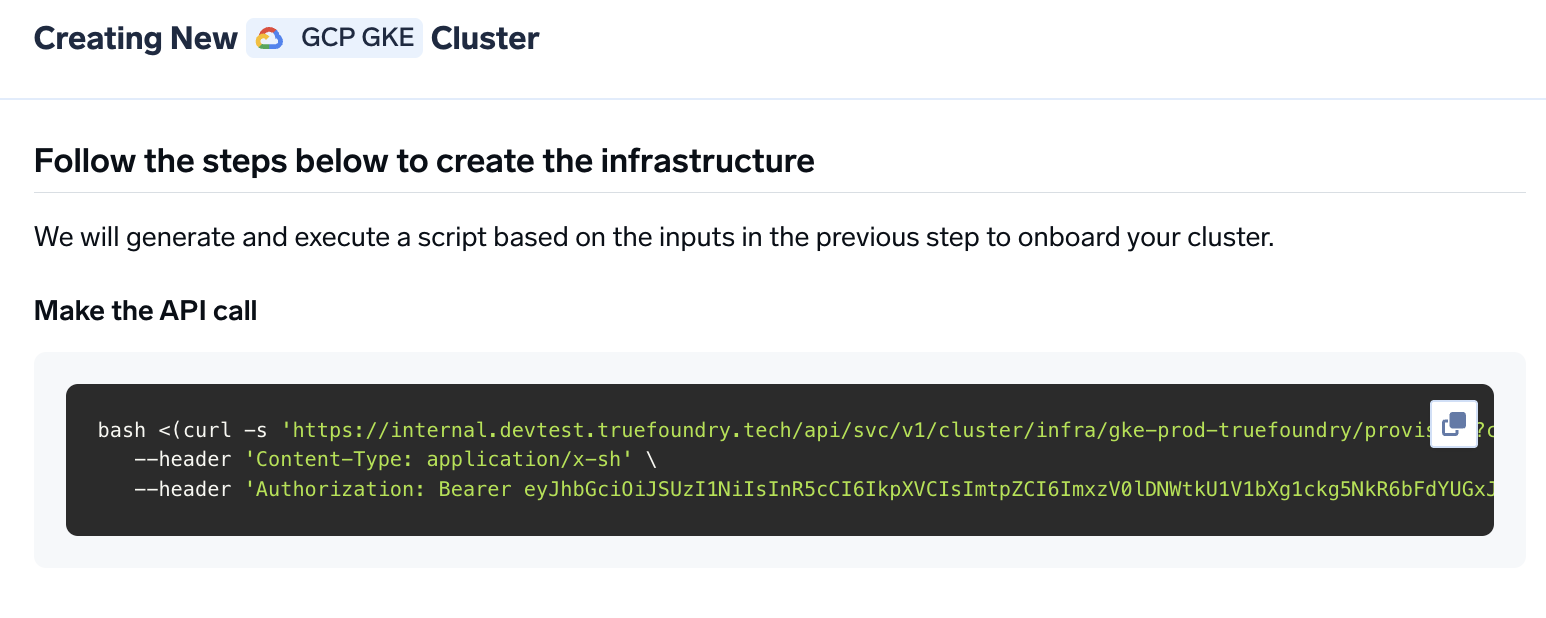
curl command to download and execute the script. The script will take care of installing the prerequisites, downloading OpenTofu/Terraform code, and running it on your local machine to create the cluster. This will take around 40-50 minutes to complete.5
Verify the cluster is showing as connected in the platform
Once the script is executed, the cluster will be shown as connected in the platform.
6
Create DNS Record
You can get the load balancer’s IP address by going to the platform section in the bottom left panel under the Clusters section. Under the preferred cluster, you’ll see the load balancer IP address under the 
Base Domain URL section.7
Start deploying workloads to your cluster
You can start by deploying your first service.
FAQ
Can I use my own certificate and key files to add TLS to the load balancer?
Can I use my own certificate and key files to add TLS to the load balancer?
If you have your own certificate files (for example, from another certificate provider or self-signed), you can use them directly with TrueFoundry.
-
Create a Kubernetes secret with your certificate and key, or create a self-signed certificate:
-
Once the secret is created, head over to the cluster page and navigate to the
tfy-istio-ingressadd-on. Add the secret name in thetfyGateway.spec.servers[1].tls.credentialNamesection and ensure thattfyGateway.spec.servers[1].port.protocolis set toHTTPS. Here we are usingexample-com-tlsas the secret name, which contains the certificate and key.
How do I add additional node pools to GKE via Terraform?
How do I add additional node pools to GKE via Terraform?
Use the The two node pool examples above serve different purposes:
additional_node_pools input variable on the truefoundry/truefoundry-cluster-classic/google Terraform module to define extra GKE node pools — including flex-start node pools for preemptible GPU workloads.For the full list of supported input variables, see the terraform-google-truefoundry-cluster-classic repository.
nodepool-name-1: A standard autoscaling node pool withe2-standard-8instances.flex-start-nodepool-name: A flex-start GPU node pool with A100 GPUs, queued provisioning, and a taint to prevent non-GPU workloads from scheduling on it.
additional_node_pools block to your existing gcp-gke module definition and run terraform apply (or tofu apply).